Posted by Editorial Team on Nov 21st 2026
8 Soft Plastic Bait Molding Equipment Reviews
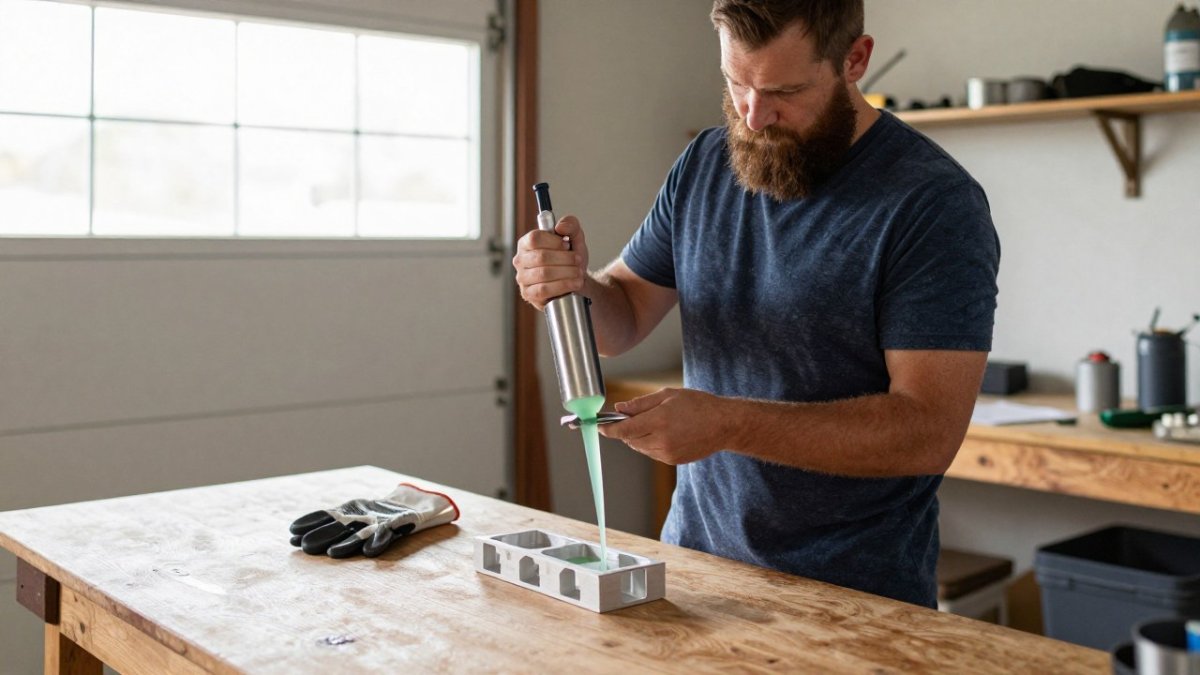
Last Updated: November 21, 2026
Quick Summary
Good bait molding equipment starts with a quality aluminum mold, since the mold is the part most reviews skip. Match cavity count to your realistic weekly output, pair the mold with an injector sized to its cavities, and start single-cavity before scaling up.
- Run a thumb along the cavity edge and check for a clean, even rim.
- Single-cavity molds suit testing shapes and small batches; multi-cavity molds typically run two to six cavities.
- Start single-cavity, then add a multi-cavity mold once you shoot ten baits without a reject.
- On used molds, inspect cavity faces, alignment pins, and clamping surfaces for wear.
- Budget for four startup buckets: molds, injector, plastisol and colorant, and safety gear.
Table of Contents
- What to Look for in Soft Plastic Bait Molding Equipment
- Best Soft Plastic Lure Making Kit for Beginners
- Soft Plastic Bait Molds for Beginners: Stick Worms, Flukes, and Creature Baits
- Choosing a Soft Plastic Bait Injection Mold: Single vs Multi-Cavity
- Used Soft Plastic Bait Molding Equipment Reviews: What to Check Before Buying
- Equipment Beyond the Mold: Injectors, Plastisol, and Ventilation
- Startup Costs and Compatibility Troubleshooting
- Stock Your Bench with Fat Guys Fishing Molds
- Frequently Asked Questions
What to Look for in Soft Plastic Bait Molding Equipment
Soft plastic bait molding equipment reviews tend to skip the part that matters most: the mold itself. Fat Guys Fishing offers aluminum molds, so this guide judges gear by how it performs on the bench.
Below, we break down what separates a mold that lasts a decade from one that warps by spring, plus how to size your setup to your pour volume.
Mold Material and Machining Quality
Aluminum is a common choice for repeat use, and it is the material Fat Guys Fishing molds are made from.
Machining quality shows up in the small things. Run a thumb along the cavity edge and look for a clean, even rim.
Clamping pressure is the other tell. When the two halves of a mold are closed, they should sit together with no visible gap.
Cavity Count and Production Capacity
Cavity count is the simplest capacity decision you will make. A single-cavity mold suits testing shapes and small batches; multi-cavity molds, typically two to six cavities, cut cycle time because one shot fills several baits at once.
Match cavities to your realistic weekly output, not your ambitions. Match cavity count to your realistic output, since a larger mold only adds capacity you will use if you pour in volume.
| Setup | Cavities | Best For | Trade-off |
|---|---|---|---|
| Single-cavity mold | 1 | Learning, testing new shapes | Slowest per-bait output |
| Two to four cavity mold | 2-4 | Regular hobby pouring | Moderate plastic waste on bad shots |
| Multi-cavity production mold | 5+ | High-volume, tournament use | Requires steady injector pressure |
Best Soft Plastic Lure Making Kit for Beginners
A beginner kit should teach the process, not just include the most pieces.
A starter kit's mold matters because a poorly made mold can make learning harder. Single or two-cavity designs are a common choice for beginners.
Fat Guys Fishing offers starter kits for beginners. Check the kit contents on the website for current details.
Watch out: kits that bundle soft silicone molds feel like a bargain, but they rarely survive a full season of regular shooting.
Soft Plastic Bait Molds for Beginners: Stick Worms, Flukes, and Creature Baits
Beginner molds should start with shapes that forgive mistakes.
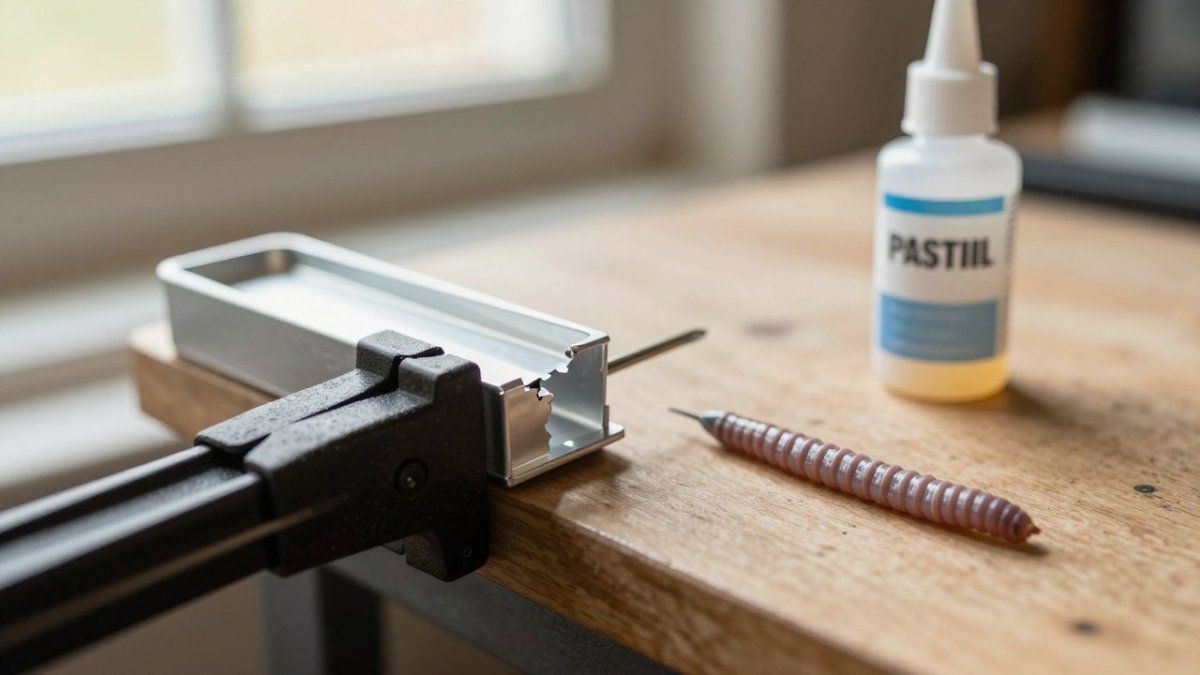
Stick worms are a common starting point: they have a straight body without tails or thin appendages.
Flukes add a forked tail and more detail, demanding a slightly hotter pour to fill the tail cleanly, a useful next skill.
Creature baits with legs and claws have thin sections that can be harder to fill, so many pourers start with simpler shapes.
Choosing a Soft Plastic Bait Injection Mold: Single vs Multi-Cavity
The choice between single and multi-cavity molds depends on your volume and experience. A side-by-side test under the same conditions can show which setup suits your pouring.
How to Run a Fair Side-by-Side Test
Use one variable at a time so the results mean something:
- Same plastic, same temperature. Heat one batch of plastisol to a single target temperature and shoot every mold from that batch.
- Same injector and nozzle. A nozzle that seats cleanly on one sprue but not another will make a good mold look bad.
- Same clamp force. Use the same clamp or torque every shot so flashing results are comparable.
- Count rejects, not successes. Shoot ten baits per mold and record voids, short tails, flashing, and tears. Reject rate predicts your real cost per bait.
- Time the cycle. A six-cavity mold that takes three times as long to cool is not automatically faster per finished bait.
A common pattern is that single-cavity molds win on first-shot success rate while multi-cavity molds win on finished baits per hour, but only after the operator's technique is consistent. Test before you scale.
Single-Cavity: What It Actually Buys You
A single-cavity mold produces one bait per shot, so a short shot wastes only one bait's worth of plastic.
The trade-off is throughput. If your realistic output is a dozen baits a week, a single cavity is not a limitation, it is a match.
Multi-Cavity: Where the Speed Comes From
Multi-cavity molds, typically two to six cavities, fill several baits in one shot. Steady injector pressure and even cavity fill help keep results consistent.
Injection molding differs from hand pouring in that an injector pushes plastic into the cavity under pressure.
A multi-cavity mold paired with an undersized injector may produce inconsistent fill across cavities.
Matching Injector to Cavity Count
Injector choice should match cavity count, since larger multi-cavity molds need steadier pressure. Before buying, check three fit points:
- Nozzle-to-sprue seat. A large nozzle will not seat on a small mold's sprue, and a loose seat leaks plastic at the seam.
- Injector capacity versus total cavity volume. A small barrel runs out of plastic mid-shot on a large multi-cavity mold.
- Plunger travel and seal condition. A stiff or worn plunger gives uneven pressure, which shows up first in the smallest cavities.
The Decision Rule
Start single-cavity, then add a multi-cavity mold of the same shape once you can shoot ten baits in a row without a reject. Buying the multi-cavity mold first does not make you faster, it makes your learning curve more expensive, because every early mistake costs several baits' worth of plastic instead of one.
Used Soft Plastic Bait Molding Equipment Reviews: What to Check Before Buying
Used gear can be a practical buy when you inspect it carefully. Check the cavity faces, alignment pins, and clamping surfaces for wear or damage.
Ask the seller how the mold was stored. Aluminum molds left clamped shut with plastic residue inside can pit at the seam.
Inspect injectors for cracked seals and stiff plungers. Seals are cheap to replace; a bent plunger rod usually means the whole unit was mistreated.
Alignment pins are worth checking on any secondhand mold.
Equipment Beyond the Mold: Injectors, Plastisol, and Ventilation
The mold is one piece of a system. You also need an injector sized to your cavities, plastisol in the hardness and color you want, and ventilation that actually moves air.
Plastisol is the liquid plastic used in pouring. Buying small quantities first can help you avoid waste.
Ventilation is the piece nobody talks about. Heating plastisol produces fumes, and a garage with the door cracked is not enough.
Startup Costs and Compatibility Troubleshooting
Budget for the whole bench, not just the mold. Budget for the whole bench, not just the mold, since a full setup includes more than one component. This section breaks startup into four buckets, shows how consumable costs scale per bait, and gives you a compatibility and defect-diagnosis framework you can run before you buy.
The Four Startup Buckets
Your startup costs break into four buckets: molds, injector, plastisol and colorant, and safety gear. Most beginners underestimate the last two.
- Molds. The single largest line item and the one worth spending on.
- Injector. Sized to your cavity count. An undersized injector can limit your throughput regardless of how many cavities your mold has.
- Plastisol and colorant. Buy small quantities first. Plastisol has a shelf life, and a gallon you never open is money on the shelf. Colorant is typically used in small amounts.
- Safety gear. Heat-resistant gloves, eye protection, and a ventilation setup. These are not optional, and they are the bucket people skip.
Consumable Cost per Bait
The number that actually predicts your hobby cost is cost per finished bait, not cost per mold. It has three parts:
- Plastic per bait. A bait's plastic weight times your plastisol cost per ounce gives the raw material cost. Larger baits and multi-cavity shots that produce rejects raise this number fast.
- Reject rate. Every short shot, flashed bait, or torn tail is plastic you paid for and cannot fish. A 10% reject rate adds roughly a tenth to your per-bait plastic cost; a 30% reject rate adds nearly a third.
- Colorant and additives. Small per bait, but they compound across a season.
Tracking your reject rate over a month can make your true cost per bait easier to see.
What Starter Kits Include, and What They Leave Out
Starter kits vary widely in what they bundle. Before comparing value, check the kit against this list:
- Mold included? Some kits bundle a mold; others assume you already have one.
- Injector included? A kit without an injector is not a complete setup.
- Plastisol quantity. Enough for practice, or just a sample?
- Colorant and glitter. Often sold separately.
- Safety gear. Rarely included, and always needed.
- Instructions. Clear process guidance is worth more than an extra mold cavity.
Compatibility: Check Before You Buy
Compatibility problems show up fast, and most are predictable. Run this check before any purchase:
- Nozzle-to-sprue fit. A large injector nozzle will not seat on a small mold's sprue. Confirm the seat is flush before you shoot.
- Injector capacity versus cavity volume. A small barrel runs out of plastic mid-shot on a large multi-cavity mold.
- Mold alignment. Worn alignment pins let the halves shift, which produces mismatched bait halves and flashing at the seam.
- Plastic viscosity. Different plastisol formulations flow differently. Mixing plastisol brands mid-project changes how the plastic flows, and your proven settings will suddenly fail.
- Clamp and bench fit. A large multi-cavity mold may not fit your existing clamp or bench space.
Defect Diagnosis Checklist
When a bait comes out wrong, work from the defect back to the cause instead of guessing. A simple troubleshooting checklist saves hours:
- Voids in the bait: raise plastic temperature slightly
- Flashing at the seam: reduce injection pressure or check clamp force
- Incomplete tails: check sprue alignment and injector nozzle fit
- Mismatched halves: inspect alignment pins for wear
- Sticky finished baits: cure time too short
- Short shots in far cavities only: injector pressure too low for cavity count
Write down your temperature and pressure for every batch that works, and you will stop guessing.
Stock Your Bench with Fat Guys Fishing Molds
The right soft plastic bait molding equipment reviews should leave you with a shortlist, not a shopping list. Start with one good aluminum mold, a matching injector, and enough plastisol to practice.
Fat Guys Fishing offers aluminum molds from under 1 inch to over 10 inches, including Slayer Systems and Slide Systems. Starter kits are available for beginners, and bargains are available on select items.
Buy one mold, shoot it until you can do it blindfolded, then expand.
Get started with Fat Guys Fishing and build a bench that produces professional-grade baits tailored to your water.
Frequently Asked Questions
What equipment do you need to make soft plastic fishing lures?
A complete bait molding setup includes an aluminum mold, a plastic injector, plastisol, colorant, glitter, and a heat source. You also need safety gear: nitrile gloves, eye protection, and a well-ventilated workspace, ideally with a fan pulling fumes away. A digital thermometer helps you keep plastisol at the right temperature so baits cure evenly and avoid scorching.
What should you look for in a soft plastic bait injection mold?
Check the aluminum grade and machining quality first. Look at cavity count to match your production volume, and confirm the injector port fits your equipment. Ask about warranty coverage and whether replacement halves are available before you buy.
Are soft plastic lure-making starter kits worth considering?
Starter kits make sense if you are new to bait molding because they bundle the mold, injector, and basic consumables in one purchase. The tradeoff is that kit components vary in quality, so check what is included rather than assuming.
What is the difference between hand-pour and injection molds?
Hand-pour molds have open cavities you fill from the top, which is slower but simpler and works well for small batches. Injection molds are closed and filled through a port with an injector, producing more consistent baits and higher output per session. Injection setups generally cost more upfront and have a steeper learning curve.
