Posted by Editorial Team on Nov 21st 2026
How to Clean Lead Sinker Molds: A Step-by-Step Guide
Last Updated: November 19, 2026
Quick Summary
To clean lead sinker molds, let the mold cool completely, wipe away loose debris, wash it with warm soapy water, then dry it thoroughly. Remove oxidation with a light white vinegar wipe, degrease the cavities with isopropyl alcohol, and inspect them before pouring again.
- Let the mold cool to room temperature before any wet cleaning.
- Dry the mold completely, since trapped water can cause problems when pouring.
- Use plastic or brass picks to remove flash, because steel tools can scratch aluminum.
- Wear nitrile gloves and work in a well-ventilated area when handling lead.
Table of Contents
- What You Need to Clean Lead Sinker Molds
- Safety Precautions When Handling Lead and Hot Molds
- Step-by-Step: How to Clean a Dirty Lead Mold
- Choosing a Cleaning Method by Mold Material
- Troubleshooting Sticking and Poor Casts After Cleaning
- Lead Sinker Mold Maintenance and Storage Tips
- Storing Your Cleaned Molds So They Last
- Start Casting With Clean Molds from Fat Guys Fishing
- Frequently Asked Questions
What You Need to Clean Lead Sinker Molds
Fat Guys Fishing builds aluminum molds for anglers who pour their own soft plastic baits and lead weights. Lead residue, oxidation and flash can build up over time, and a dirty cavity can give you rough, incomplete castings. Keeping your molds clean helps them pour more consistently.
Before you start, gather a small set of simple supplies. Most of them are already in a home workshop or kitchen.
- Dish soap: A mild liquid works well for cutting grease and oily film.
- White vinegar: Helpful for loosening oxidation on metal surfaces.
- Isopropyl alcohol: Removes wax, oil and residue left after scrubbing.
- Soft cotton rags: Use these for wiping cavities without scratching the metal.
- Old toothbrush: Good for reaching into small details and corners.
- Plastic or brass pick: A soft tool helps lift stubborn bits from the cavity.
- Nitrile gloves and eye protection: Keep lead and cleaner off your skin and out of your eyes.
- Propane torch or heat source: Warming the mold can loosen residue, but use it with care.
Keep these supplies in one bin so you can clean molds without hunting for tools each time.
Safety Precautions When Handling Lead and Hot Molds
Lead is toxic, and the dust and fumes it creates are dangerous to breathe (Lead (Pb) Toxicity: What Are Possible Health Effects from Lead Exposure? | Environmental...). Work in a well-ventilated area, ideally with a window open or a fan pulling air outside. Do not clean molds in a closed room or near food.
Wear nitrile gloves whenever you handle lead, scrap or a freshly used mold. Wash your hands with soap and water when you finish. Never eat, drink or smoke at the bench.
Molds and molten lead get extremely hot. Let a mold cool before handling it bare-handed, and keep kids and pets well away from the work area. Use heat-resistant gloves if you are warming a mold with a torch. Keep a fire extinguisher close by when using a propane torch.
Watch out: Cleaning a warm mold with water can cause it to spatter or crack in some cases. Let it come to room temperature before wet cleaning.
Step-by-Step: How to Clean a Dirty Lead Mold
Work through these steps in order. Most molds only need the first few, but heavy buildup may need the full process.
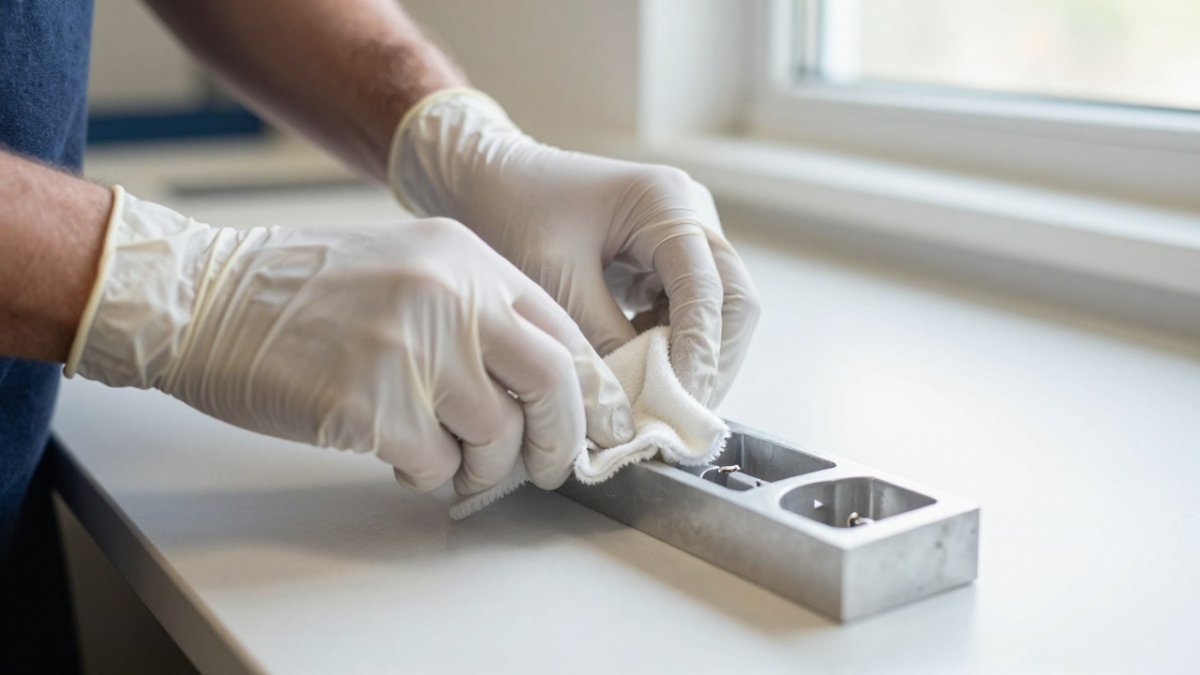
- Let the mold cool completely. Set it on a stable, heat-resistant surface.
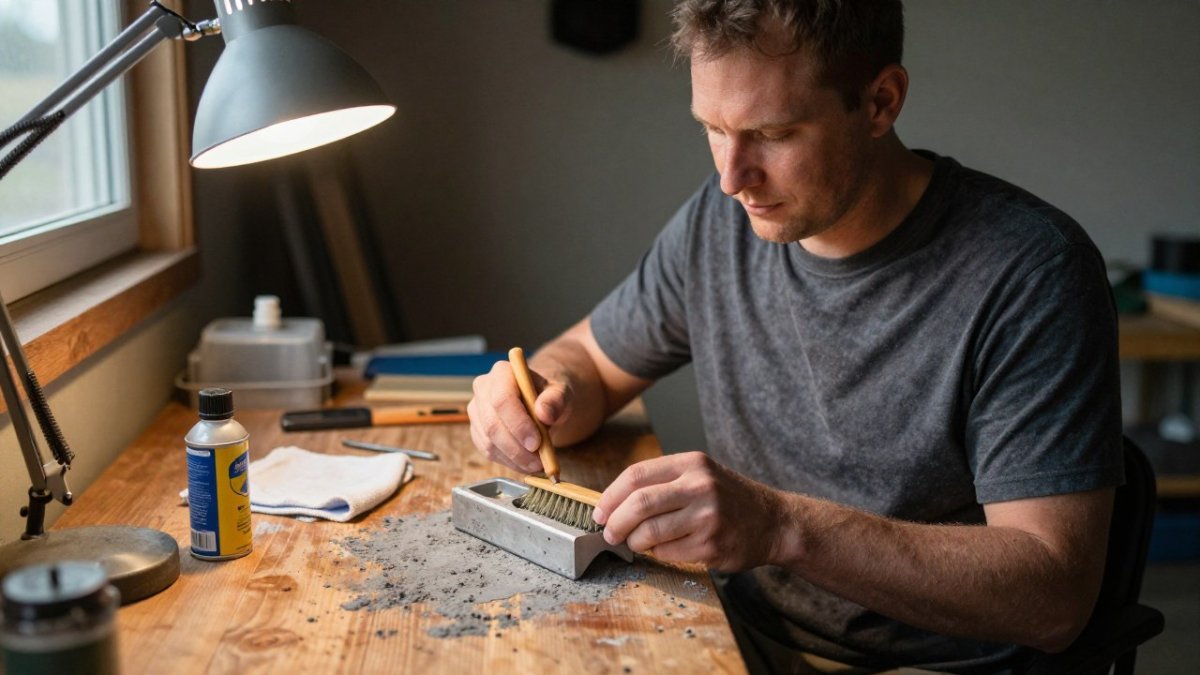
- Wipe off loose debris. Use a dry cotton rag to remove dust and flakes.
- Wash with warm soapy water. Scrub gently with a soft brush to remove oily film.
- Rinse and dry thoroughly. Trapped water can cause problems when you pour, so dry the mold completely.
- Remove oxidation. Dampen a rag with a little white vinegar and wipe the cavity. Rinse and dry right away.
- Degrease with alcohol. Wipe the cavities with isopropyl alcohol to remove any leftover residue.
- Inspect the cavities. Shine a light into each cavity and check for remaining residue or damage.
- Season lightly if needed. A thin film of mold release can help castings pull free.
Removing Lead Smears and Flash from Mold Cavities
Lead smears and flash are thin lines of metal left where the two halves of a mold meet or where metal has spilled over. They can keep the mold from closing tightly and leave rough seams on your castings.
Use a plastic or brass pick to lift flash from the mold edges. Avoid steel tools, which can scratch aluminum. For smears inside the cavity, warm the mold slightly with a torch, then wipe away the softened metal with a rag. Let it cool before you continue.
A common mistake is scraping too hard. Light, repeated passes do more good than one forceful scrape that gouges the surface.
Cleaning Scrap Lead and Wheel Weights Before Casting
Dirty scrap lead causes dirty pours. Wheel weights often carry grease, paint and road grime, so clean them before melting.
Wipe each weight with a rag and soap water, then dry it. Remove any paint or coating you can, and discard pieces that look corroded or contaminated. Sort your scrap so you do not mix alloys.
Skim the molten lead before pouring. Use a flux such as wax or sawdust, and scoop off the dross that floats on top. Clean lead produces cleaner castings and less buildup in the mold.
Choosing a Cleaning Method by Mold Material
Aluminum and steel molds fail in different ways, so the cleaner that rescues one can ruin the other. Aluminum is soft, machines easily, and reacts with strong acids and caustics; steel is harder but rusts when moisture sits in a cavity. Match the method to the metal before you touch the mold.
Aluminum molds. Most sinker molds sold to home pourers are machined aluminum because it conducts heat evenly and releases castings well. The trade-off is that aluminum scratches under steel tools and pits under strong chemicals. Stick to soft brushes, cotton rags, plastic or brass picks, and mild dish soap. Diluted white vinegar is fine for brief oxidation removal, but rinse and dry immediately, leaving acid on aluminum dulls the surface and can etch fine detail. Avoid steel wool, wire brushes, scouring pads, and any cleaner containing lye or strong phosphoric acid.
Steel molds. Steel tolerates firmer scrubbing and brief acid contact better than aluminum, but it rusts fast if water stays in the cavity or along the parting line. After any wet cleaning, dry the mold completely, a hair dryer on low or a warm (not hot) oven works, then wipe a very thin film of oil on bare steel surfaces. Do not leave oil in the cavities before pouring; it burns and leaves residue that transfers to castings.
Coated or blued surfaces. Some molds carry a protective coating or bluing. Abrasives and strong solvents strip these finishes, so use only soap, water, and a soft brush, and reapply the manufacturer's recommended protectant after cleaning.
Use this guide to pick a method by situation and metal:
| Situation | Aluminum mold | Steel mold | Avoid on both |
|---|---|---|---|
| Light oily film | Warm water, mild dish soap, soft brush | Same | Harsh solvents, lye-based cleaners |
| Oxidation or dull spots | Brief diluted white vinegar wipe, rinse and dry at once | Diluted vinegar or a commercial metal cleaner | Long acid soaks, steel wool |
| Stubborn lead residue | Gentle heat, then wipe with a cotton rag | Gentle heat, then wipe; firmer brushing is acceptable | Metal scrapers, gouging picks |
| Flash on the parting line | Plastic or brass pick, light passes | Plastic or brass pick, or a fine file drawn flat | Digging into the cavity edge |
| Rust (steel only) | Not applicable | Fine abrasive pad on rust, then oil | Leaving rust in the cavity |
When in doubt, start with the gentlest method and step up only if residue remains. A mold that cleans easily with soap and a soft brush rarely needs acid or heat, and aggressive steps can dull detail on the cavity surface.
Troubleshooting Sticking and Poor Casts After Cleaning
If your baits still stick or come out rough after cleaning, check these common causes:
- Leftover residue: Clean the cavity again with alcohol and a soft brush.
- Moisture: Make sure the mold is bone dry before pouring.
- Mold too cold: Preheat the mold so the material flows into details.
- Worn cavities: Deep scratches or pitting may hold residue, so consider repair or replacement.
- Flash on the parting line: Remove it so the mold closes tightly.
When a mold is badly damaged or cannot be restored, replacing it is often the better choice.
Lead Sinker Mold Maintenance and Storage Tips
Most cleaning problems start between pours, not during them. A short post-use routine and a dry storage setup prevent the oxidation, flash, and stuck lead that force a deep clean in the first place.
After every session. Let the mold cool to room temperature, then wipe the cavities and parting line with a dry cotton rag while any film is still soft. Do not dunk a hot mold in water, trapped moisture and uneven cooling can warp thin sections or crack a mold.
Rust prevention on steel. Bare steel molds rust from humidity alone. After cleaning, dry thoroughly and wipe a very thin coat of oil on the exterior and non-cavity surfaces. Before the next pour, degrease the cavities with isopropyl alcohol so oil residue does not transfer to castings. Aluminum molds do not rust, but they oxidize, so a dry wipe and dry storage are enough.
Storage setup. Store each mold in its own pouch or compartment so halves do not rub and scratch. Keep the storage area cool and dry, and add a silica gel packet to the bin if your space runs humid. Label molds by size or pattern so you grab the right one without handling the rest. Keep the bin away from open flames, solvents, and anything that off-gasses.
Inspection intervals. Check the parting line and alignment pins every few sessions. Worn pins let the halves shift, which produces flash and rough seams that look like cleaning problems but are really wear. Look for pitting, deep scratches, or rounded cavity edges, these hold residue no cleaner will remove and usually mean repair or replacement.
Watch out: Storing a mold with moisture in the cavity or along the parting line is the fastest way to rust a steel mold and pit an aluminum one, so dry completely before the mold goes in the bin.
Storing Your Cleaned Molds So They Last
Once clean and dry, store each mold in a separate pouch or compartment to avoid scratches. Label them by size or pattern so you can find them quickly.
Keep the storage area cool and dry, and away from open flames. A light coat of mold release or oil on steel molds helps prevent rust during long storage.
Start Casting With Clean Molds from Fat Guys Fishing
Fat Guys Fishing offers aluminum molds ranging from under 1 inch to over 10 inches, including Slayer Systems, Slide Systems and Lead Molds, with starter kits for beginners and bargains for all.
Pricing depends on the mold series, quantity and shipping, so check our website for current prices or contact us for a quote.
Frequently Asked Questions
What is the best way to clean a lead sinker mold?
Start by letting the mold cool to room temperature, then wipe out loose lead and dust with a dry cotton rag. For stubborn residue, use a soft toothbrush with warm water and a few drops of dish soap, rinse thoroughly, and dry completely before the next pour. Avoid steel wool and sharp metal tools, which scratch the cavity surface and make future flash more likely. Keep the cavity surfaces smooth, because even small scratches can cause lead to stick and leave seams on your sinkers.
Can you clean a lead sinker mold with vinegar?
Vinegar can dissolve light oxidation and mineral film on a mold, but it should be used with care. Dilute it, apply it briefly with a cloth, then rinse with water and dry the mold fully so no acid residue remains in the cavities. Do not soak the mold for long periods, and avoid leaving vinegar on any hinge or pin area. Follow with a light wipe of alcohol to remove moisture before storing the mold.
Is it safe to clean a sinker mold while it is hot?
No. A mold that is still hot can cause burns, and water or cleaner applied to a hot mold can flash to steam and spatter. Wait until the mold has cooled completely before cleaning. Wear safety glasses and gloves, and work in a ventilated area, because lead residue and fumes are hazardous. Handle any leftover molten lead with appropriate tools and never let water touch molten metal.
How often should you clean a lead sinker mold?
Clean the mold whenever you notice residue, flash, or sticking, and always before storing it for a long period. Anglers who pour frequently may wipe cavities after every session to prevent buildup. Inspect the cavities each time you clean and replace the mold if the surface is badly pitted or damaged.
